Curing a Zombie Villager in Minecraft is a rewarding process that transforms a hostile mob back into a friendly villager, unlocking potential trades and benefits.
This guide will walk you through the necessary steps to achieve this transformation.
Understanding Zombie Villagers
Zombie Villagers are variants of regular zombies that have the appearance of villagers. They can spawn naturally or result from villagers being attacked by zombies.
Curing them involves a two-step process: applying the Weakness effect and then feeding them a Golden Apple.
Materials Needed
Before starting the curing process, gather the following items:
- Splash Potion of Weakness: This potion can be brewed using a Fermented Spider Eye added to a Water Bottle and Blaze Powder as fuel. To make it throwable (a splash potion), add Gunpowder to the brewed potion.

- Golden Apple: Crafted by surrounding an Apple with eight Gold Ingots on a crafting table.

Step-by-Step Guide to Curing
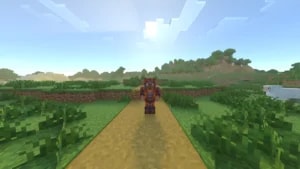
1. Locate and Secure the Zombie Villager:
Find a Zombie Villager, typically spawning at night or in dark areas.
Lure or trap the Zombie Villager in a safe, enclosed space to protect it from sunlight (which can cause it to burn) and other threats.

2. Apply the Weakness Effect:
Select the Splash Potion of Weakness from your inventory.
Throw the potion at the Zombie Villager by aiming and using the appropriate control for your platform. You should see gray particles emanating from the Zombie Villager, indicating the Weakness effect is active.

3. Administer the Golden Apple:
With the Weakness effect applied, approach the Zombie Villager holding the Golden Apple.
Use the appropriate control to feed the Golden Apple to the Zombie Villager. Upon successful administration, red particles will appear, and the Zombie Villager will begin to shake, signifying the curing process has started.

4. Wait for the Transformation:
The curing process takes approximately 2 to 5 minutes. During this time, ensure the Zombie Villager remains protected from any harm.
Once cured, the Zombie Villager will revert to a normal Villager, often offering discounted trades as a token of gratitude.

By following these steps, you’ll not only cure a zombie villager but also unlock valuable trading advantages, making your survival world more efficient and rewarding.